

Draw boring is an ancient technique of combining the chemical strength of glue with the mechanical strength of an interlocking dowel
*This post is sponsored by The Home Depot
Links below are affiliate links, clicking on them helps me keep this site going at no extra cost to you . Thank you for supporting my site.
Draw boring is a technique that strengthens a mortise and tenon joint by using a dowel and offset holes in the mortise and tenon to draw the joint together. This combines the chemical strength of glue with mechanical strength of an interlocking dowel. Here’s how I draw bored the mortise and tenons on my trestle table leg assembly.

Rough cutting some straight grain Walnut
The first thing I need to do and crosscut some straight grain Walnut with my Milwaukee 18-Volt Lithium-Ion Cordless 7-1/4 in. Rear Handle Circular Saw. This thing is a beast and hogged through this straight grain 12/4 Walnut without issue. The straight grain is important because the dowels that I'll be making out of this material will need to be as strong as possible. Any imperfections within the grain structure would cause the dowel to break as it's being driven through the tenon.
Next I’ll drill out the 2-3/4 inch dowels using the 1/2 inch extra long dowel and plug cutter made by Infinity Cutting Tools at the drill press. I’ll release the dowels by crosscutting at the bandsaw.

Extra long dowel and plug cutter made by Infinity Cutting Tools

Drilling out the dowels on the drill press

Releasing the dowels by crosscutting at the bandsaw
Now I’ll drill a 1/2” hole into the mortise portion of the leg assembly. I drill all the way through the entrance of the dowel but only dril 1/2” into the back of the leg assembly mortise. The dowel does not need to go all the way through the leg assembly. Doing so could cause the back of the leg assembly to “blow out.”

The location of the holes on the mortise portion of the leg assembly
Next, I’ll clamp the mortise and tenon joint together and using a center punch, I’ll locate the center of the hole on the tenon portion of the leg assembly. I’ll then take the mortise and tenon apart and offset the location of the hole I need to drill by 1/16” towards the shoulder of the tenon.

Using a center punch to locate the center of the hole in the mortise

Offsetting the hole 1/16” towards the shoulder of the tenon

Drilling the offset hole in the tenon
Before I start glue up, I’ll taper the dowels on the disc sander

Tapering the dowels
I’ll apply glue to the mortise and tenon and clamp the joint together. I like to use Franklin Liquid Hide Glue because it helps lubricate the joint. I’ll then apply glue to the Walnut dowel and start to drive the dowel through the offset holes. This will draw the shoulder of the tenon tight against the shoulder of the mortise. Once the glue cures, I remove the clamp (honestly, I can remove the clamp before the glue cures because the dowel is holding everything tight together), flush trim the dowel, and plane everything smooth with a smoothing plane.

Applying liquid hide glue to the mortise and tenon

Driving the dowel through the offset holes

Flush trimming the dowel
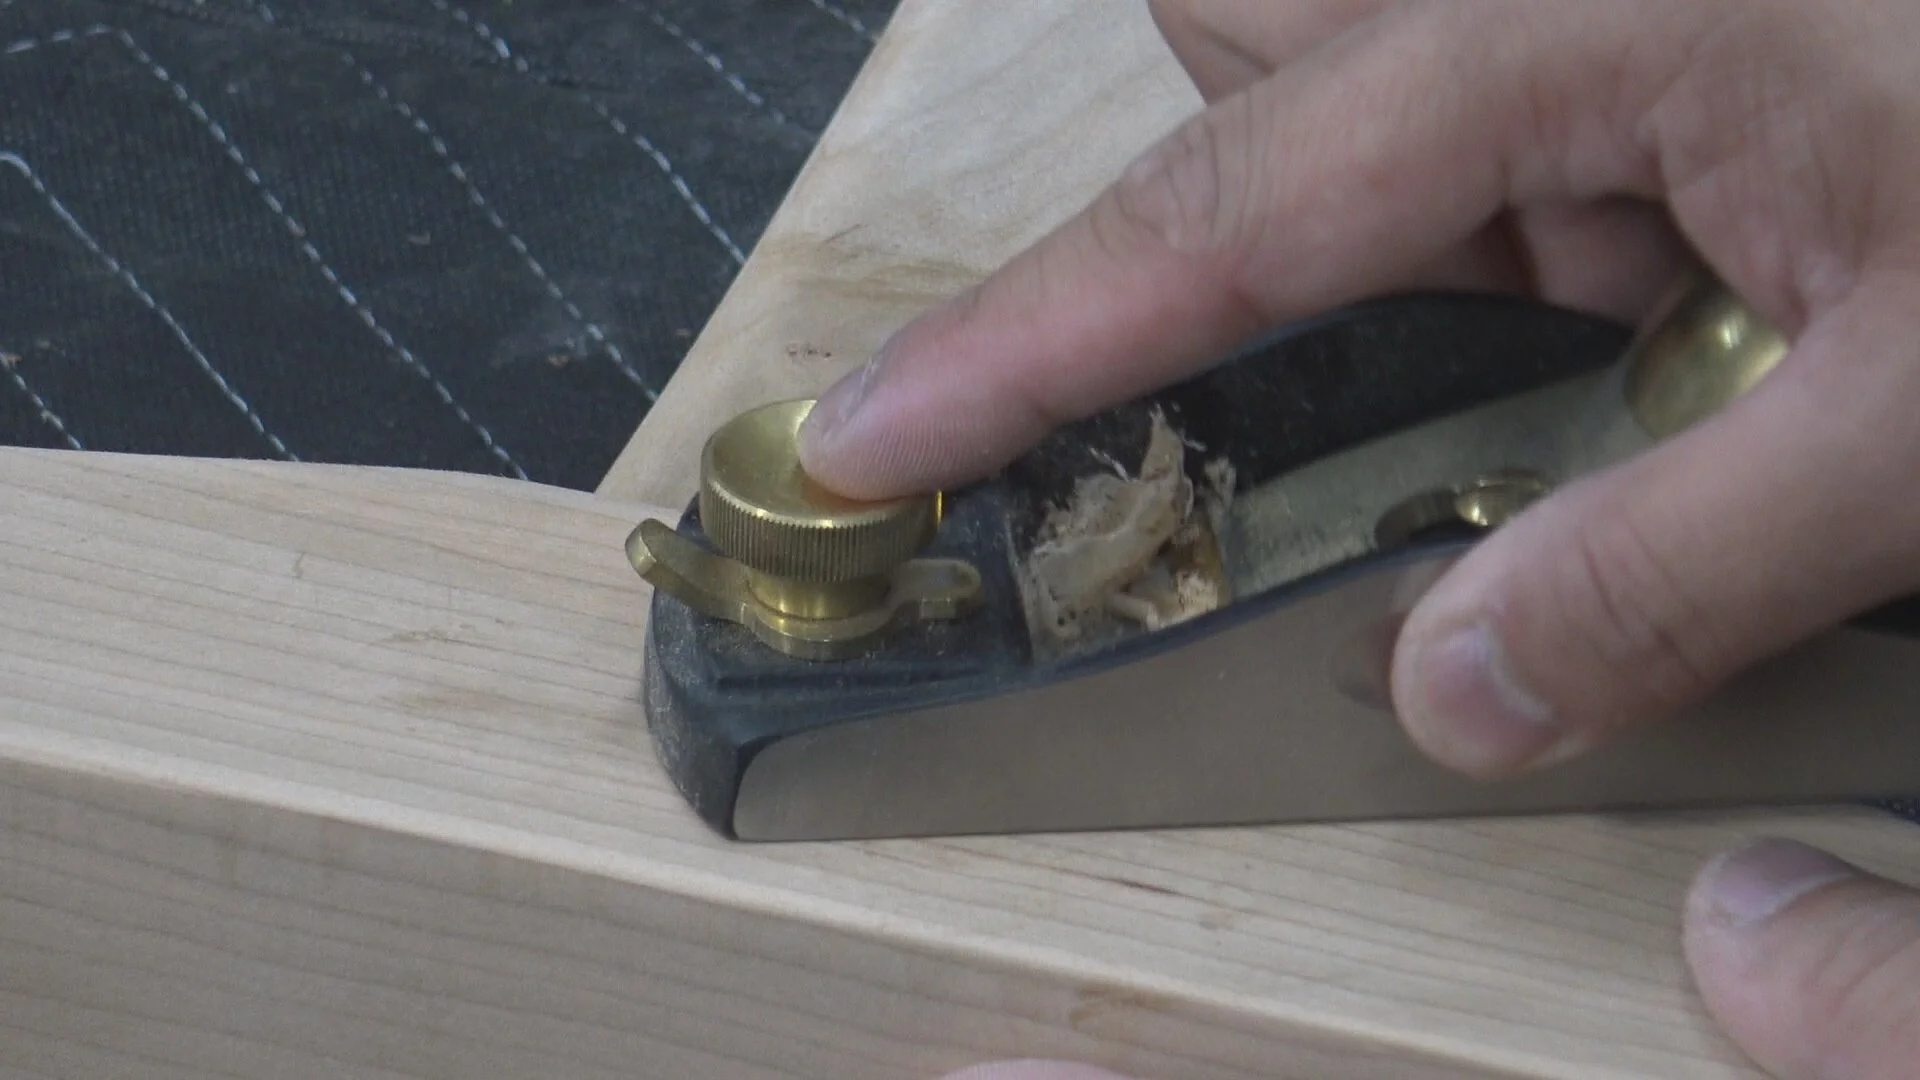
Planing everything smooth

A beautiful contrast between Cherry and Walnut